DIY Candle Making at Home: Complete Beginner's Guide 2025
DIY Candle Making at Home: Complete Beginner's Guide 2025
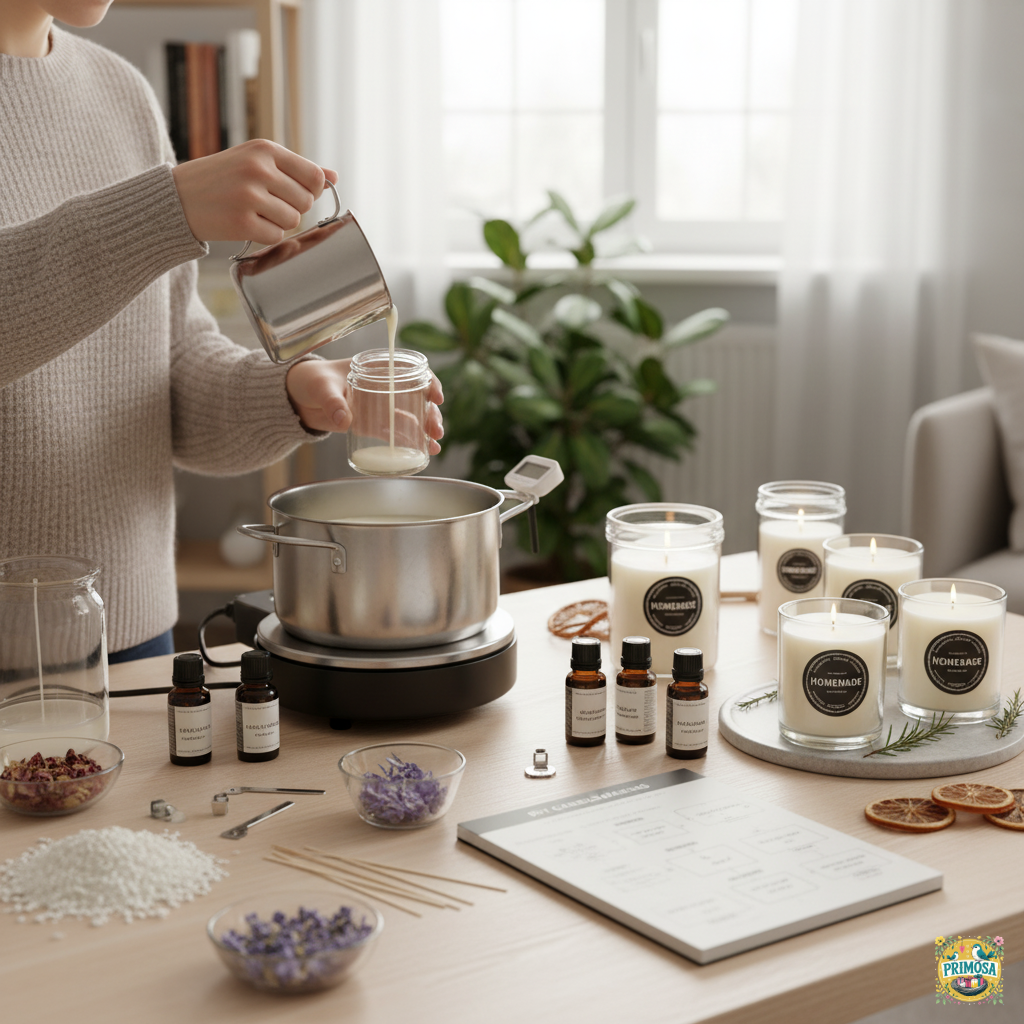
Have you always wanted to make your own candles but didn't know where to start? This comprehensive guide will walk you through everything you need to know about DIY candle making, from choosing materials to creating your first beautiful candle.
Why Make Your Own Candles?
Benefits of DIY Candle Making:
Essential Candle Making Supplies
Wax Options
1. Soy Wax (Best for Beginners)
2. Beeswax
3. Paraffin Wax (Not Recommended)
Primosa Recommendation: Start with 100% soy wax for best results.
Wick Selection
Cotton Wicks:
Wooden Wicks:
Wick Sizing Guide:
Containers and Molds
Container Options:
Important: Ensure containers are heat-resistant up to 90°C
Fragrance Oils and Essential Oils
Popular Candle Scents:
Usage Rate: 6-10% of wax weight
Additional Supplies
Step-by-Step Candle Making Process
Step 1: Prepare Your Workspace
Step 2: Measure and Melt Wax
Measuring:
Melting Process:
1. Fill bottom pot with water (2-3 inches)
2. Place wax in top pot
3. Heat on medium (never direct flame)
4. Stir occasionally
5. Heat to 75-80°C for soy wax
6. Monitor with thermometer
Safety Tip: Never leave melting wax unattended!
Step 3: Secure the Wick
Method 1: Hot Glue
1. Add small dot of hot glue to wick base
2. Press firmly to container bottom
3. Allow to cool 30 seconds
Method 2: Wick Sticker
1. Peel and stick wick base to container
2. Press firmly
Method 3: Pre-tabbed Wicks
1. Use pre-tabbed wicks with adhesive
2. Simply stick to container bottom
Centering:
Step 4: Add Fragrance and Color (Optional)
Fragrance Oil Addition:
1. Remove wax from heat
2. Let cool to 60-65°C
3. Add fragrance oil (6-10% of wax weight)
4. Stir gently for 2 minutes
5. Avoid overheating fragrance
Color Addition:
1. Add dye chips or liquid dye
2. Start with small amount
3. Stir thoroughly
4. Test color on white paper
5. Add more if needed
Pro Tip: Less is more with fragrance and color!
Step 5: Pour the Wax
Pouring Technique:
1. Check temperature (60-65°C for soy wax)
2. Pour slowly to avoid bubbles
3. Hold wick centered
4. Fill to desired level (leave 1/2 inch from rim)
5. Tap container gently to release air bubbles
Common Issue - Sinkholes:
Step 6: Cool and Cure
Cooling Process:
1. Let candle cool at room temperature
2. Don't move or disturb (4-6 hours)
3. Avoid fans or drafts
4. Don't refrigerate (causes cracks)
Curing Time:
Pro Tip: Be patient! Cured candles smell stronger and burn better.
Step 7: Trim and Finish
1. Trim wick to 1/4 inch (6mm)
2. Remove wick holder
3. Clean container rim with paper towel
4. Check for imperfections
5. Add label or decoration
Common Candle Making Problems & Solutions
Problem: Wet Spots
Cause: Wax contracts away from container
Solution:
Problem: Sinkholes
Cause: Wax cooling unevenly
Solution:
Problem: Frosting (White spots)
Cause: Natural in soy wax
Solution:
Problem: Mushrooming Wick
Cause: Wick too large or fragrance oil buildup
Solution:
Problem: Poor Scent Throw
Cause: Insufficient fragrance or incorrect temperature
Solution:
Beginner-Friendly Candle Projects
1. Simple Container Candle
Perfect first project – mason jar, soy wax, lavender essential oil
2. Layered Color Candle
Pour wax in layers with different colors
3. Coffee Cup Candle
Upcycle vintage teacups into candles
4. Dried Flower Candle
Press dried flowers against container sides
5. Tealight Set
Make multiple small candles for practice
Where to Buy Candle Making Supplies in India
Primosa Candle Making Kits:
We offer complete DIY kits with:
Other Suppliers:
Safety Guidelines
⚠️ Essential Safety Rules:
Value Comparison: DIY vs Store-Bought
Homemade 8oz Soy Candle Benefits:
Store-Bought Advantages:
Turning Your Hobby into Business
Steps to Start Candle Business:
1. Perfect your recipes
2. Develop unique scents/styles
3. Create brand identity
4. Test market with friends/family
5. Set up online store
6. Market on social media
7. Comply with local regulations
Pro Tip: Start small and scale gradually.
Conclusion
Candle making is an accessible, rewarding hobby that anyone can learn. With the right supplies, patience, and practice, you'll be creating beautiful handmade candles in no time.
Remember: Your first candle might not be perfect, and that's okay! Each candle you make will teach you something new.
Ready to start your candle making journey? Explore Primosa's DIY candle making kits and supplies today!
Keywords: DIY candle making, how to make candles at home, candle making for beginners, handmade candles tutorial, candle making supplies India
Ready to Experience Premium Candles?
Explore our handcrafted collection of soy wax candles, made with love and natural ingredients.